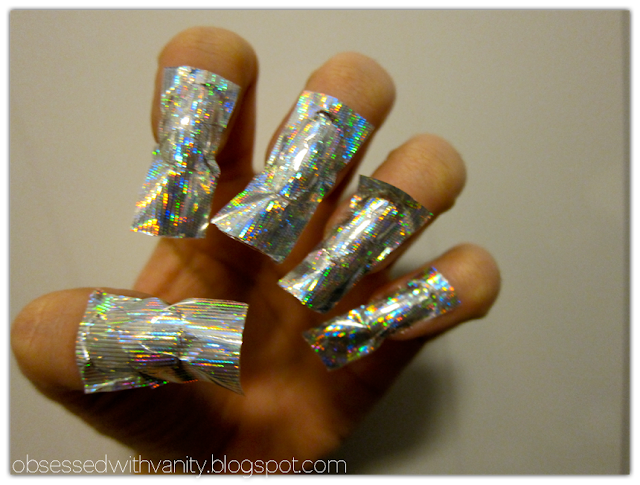
 |
| Rio - Silver Spectra nails |
I ordered the Rio Holographic nails set from UK for under 30 euros. Neat, simple and easy packaging.
 |
| Rio logo |
 |
| *Hygiene sealed* |
Inside there was a dvd, and some brochures and instructions. The dvd does not only contain info about the foiling, but other nail designing methods also! Very convenient, yes.
Some rhinestones, a small brush, cutile stick, golden glitter, the adhesive and 2-in-1 polish.
The 2-in-1 varnish works as a base and a top coat. Adhesive is the glue you use to glue the foils onto your nails.
 |
| The HOLO FOILS! ★_★ |
Lower row: Silver Spectra, Silver Horizontal, Silver Snakeskin, Large Silver Glitter, Silver Menagerie
So how does this actually work?
Step 1 - Apply a regular polish base and some nailpolish, or put on just the Rio 2-in-1 varnish. Let it to dry 30 minutes.
Step 2 - Apply one coat of the adhesive on your nails. Let it dry until it´s totally clear.
Step 3 - Put on the chosen foil. Rub it onto the nail with the stick. Peel the rest of the foil of and finish the design with another 2 coats of the 2-in-1 varnish. Done!
 |
| Even the first attempt looks super pretty in sunlight :) |
 |
| ahh.. how about those cuticles... |
My first attempt? I was way too impatient with the adhesive. I waited aroud like only for 30 secs and the put on the foil. And the result was that I couldn´t peel it off without everything coming off, because the clue was too sticky. I was too afraid for the adhesive to dry too much, so for all of the nails, I put on the foil too fast. But still I was pleased with the result.
I put on Inglot´s silver nail polish before glueing the foil. So in this picture, you cannot really see the gaps that were left in between. And sry my cuticles look... horrid :B
The second attempt was a little better; also to show you how this is done!
So after the adhesive you add the foils... and rub them on with a cuticle stick that came with the package.
And this is when you peel the foil off.
 |
| I´m using Silver Shellite |
 |
| Foil pieces after use :) |
...and then the end result.. Before a top coat. A bit sloppy still. I have so huge nails to foil the whole thing.
Love the sparkle on the nail tho :) This looked good for... 20 hours and then turned into horrid mess. I put pink metallic nailpolish under it, and it did not look good :D
This is definately a great christmas present for those who love to play with their nails, and love to stand out. In other hand, I would not recommend this for the beginners, because it was hard for even me at the first time! Good for an impeccable impression, for a party for example, but not for everyday use. Check out Rio´s webpage!
What do you think? Worth a shot?
xoxo
Mari-Liis


Love the snowflake and how the picture shows a foiled tip - Super cute! Going to investigate...
ReplyDeletewow this is awesome !!! Ive never seen anything like this in canada....I wonder if theres a way you could just use aluminum foil from the kitchen as a cost friendly version...mmmmhmmm lol
ReplyDeletelove it as always
xoxox
Relish
makeup-addicktion.blogspot.com
Make-up addiction: I actually thought of that too x) But the broblem with the "normal" foilis that it´ll break down :) These Rio foils have kind of plastic coat on them, so you can actually peel the extra foil off!
ReplyDelete